How to adjust the parameters of the convex probe to perform a successful lung ultrasound?
__
by Jeremy Ott / may 18th 2021
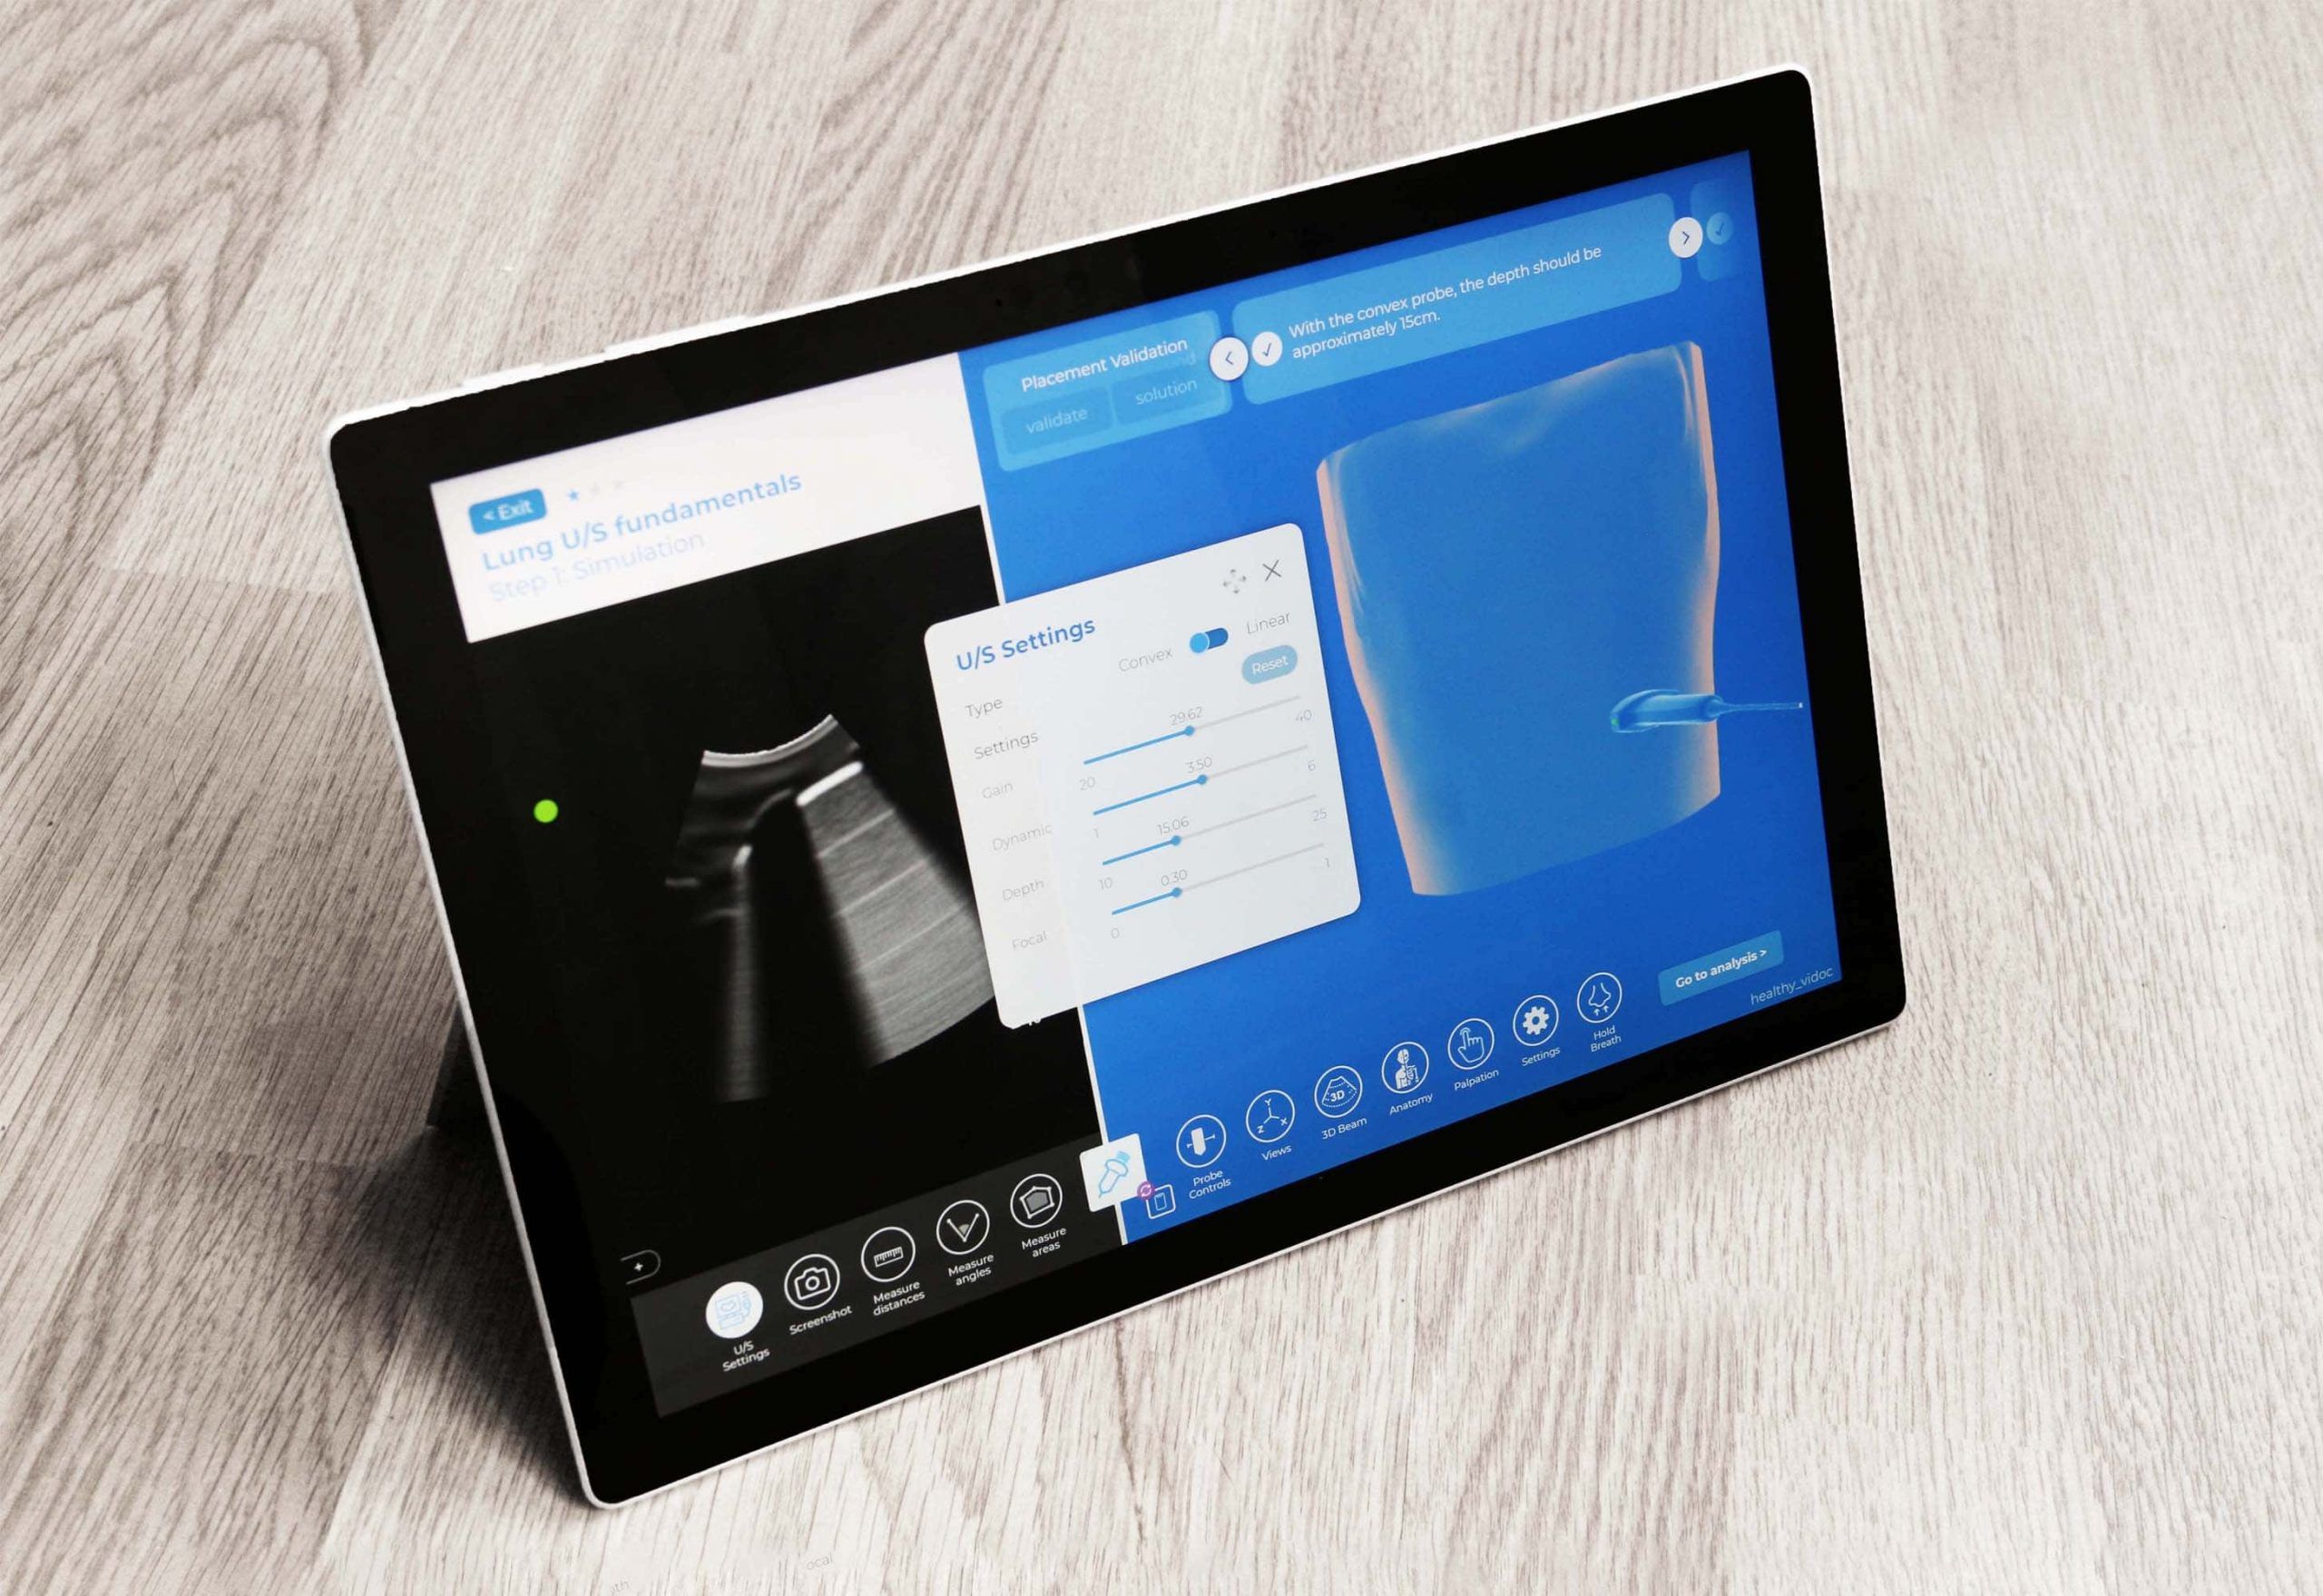
diSplay U/S, online ultrasound simulator
Lung ultrasound is performed in many clinical environments, from emergency departments to intensive care units, cardiology and pneumonology services. Less technically challenging than many other ultrasound examinations, lung ultrasound is easy to learn and can be used to detect various pathologies.
Even if the level of difficulty of this exam remains relatively low, some basic skills must be mastered to be able to perform a successful lung ultrasound.
In this article we will focus on an essential component of this clinical discipline: the adjustment of the parameters of the convex probe. In order to combine practice and theory we will go through the different possible settings within the diSplay U/S lung ultrasound simulator developed by InSimo.
YOUR GOALS
01 : learn the specific vocabulary of the probe’s settings
02 : understand the visual and technical specificities of each settings
03 : test your knowledge with diSplay U/S ultrasound simulator
? Before we start, how can we define a good ultrasound image?
Basically, there is no such thing as a perfect ultrasound image. The good quality of an ultrasound image is subjective and depends to a large extent on the information it will provide to its user to enable him to make his/her diagnosis. A good ultrasound image is therefore an image able to provide the most elements of answers to its user in the construction of its reasoning.
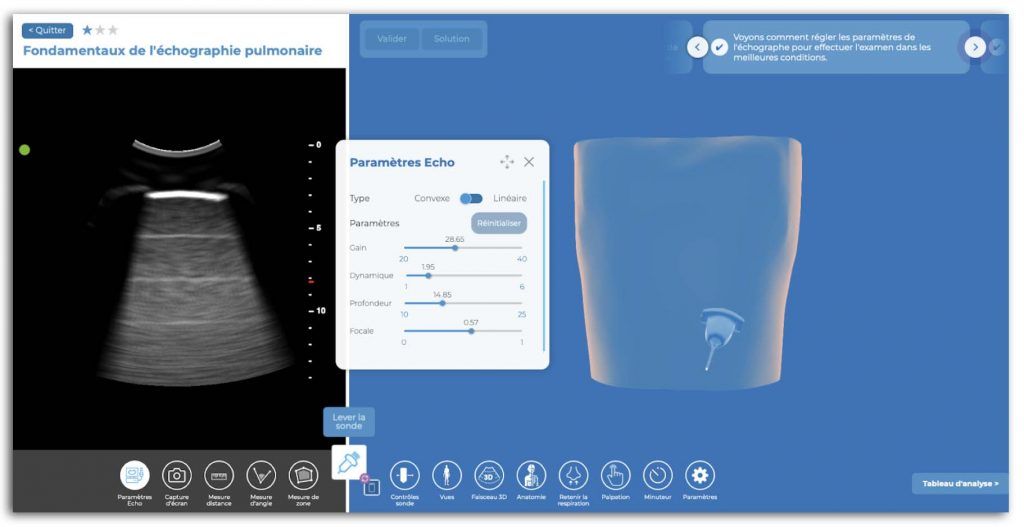
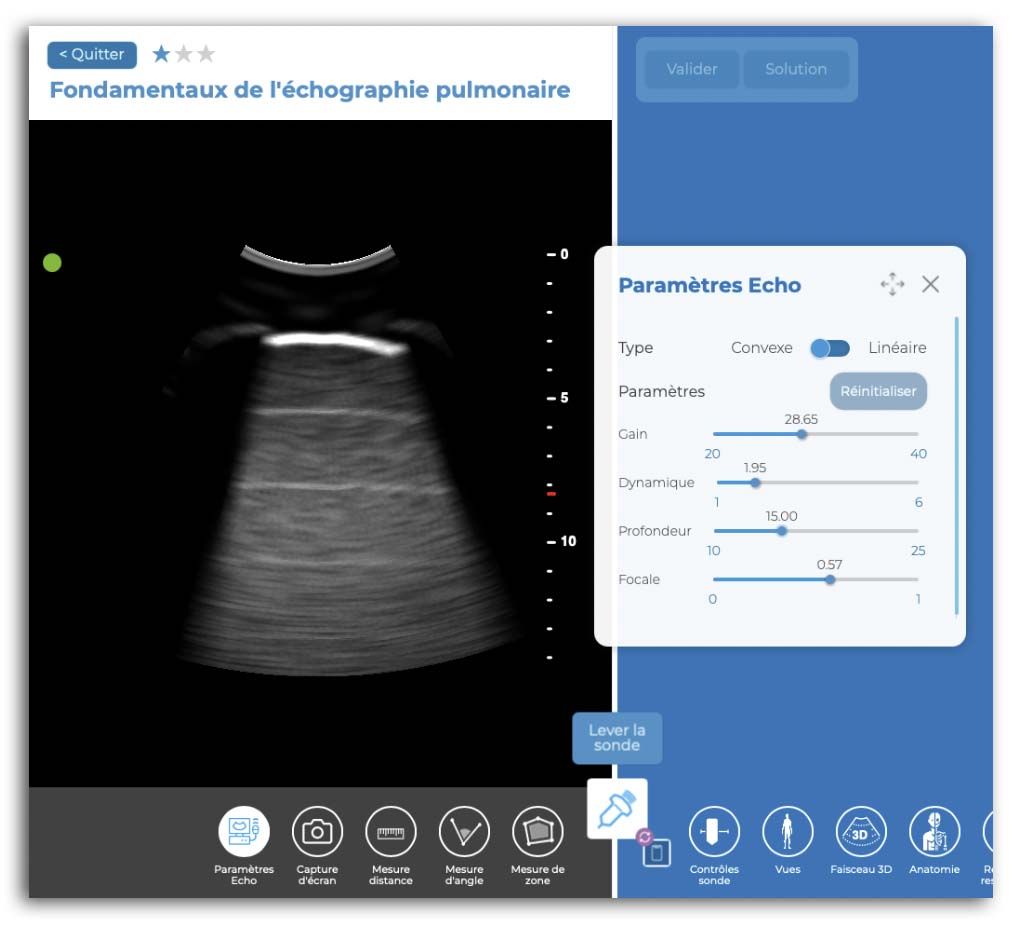
“4 essential parameters” – Gain, dynamics, depth & focus, screenshot captured in the diSplay U/S lung ultrasound simulator by InSimo
As you have understood, the evaluation of the quality of an ultrasound image depends on the interpretation of the user, however, it is still affected by several essential parameters, including the adjustment of the probe, which, if well controlled, will allow you to obtain a more accurate reading of the ultrasound image and the closest possible to your expectations. In the case of lung ultrasound, it will be important to consider the artifacts detected by the ultrasound exam to understand whether the changes observed can be interpreted as disease-related or not.
?1st parameter to set: the depth of your ultrasound image
The depth determines the extent of the structure to be viewed. It is represented on a scale on the side of the sector (in cm) and should always be selected so that everything you want to see is visible. The depth influences the spatial resolution, the pulse repetition rate and the frequency of the images generated. Overall resolution and frame rates decrease as you increase the depth. In summary, as your depth increases, your spatial resolution decreases, and the finer the details observed will be.
It is therefore essential to find the right balance in the setting of this parameter. Scientific communications recommend to start with a depth around 15 cm, of course, that should be later adapted to patients’ particularities. If you use our simulator, you will just have to play with the cursor of the “echo parameters” table until you obtain the desired rendering, using the scale on the side of the ultrasound image if necessary.
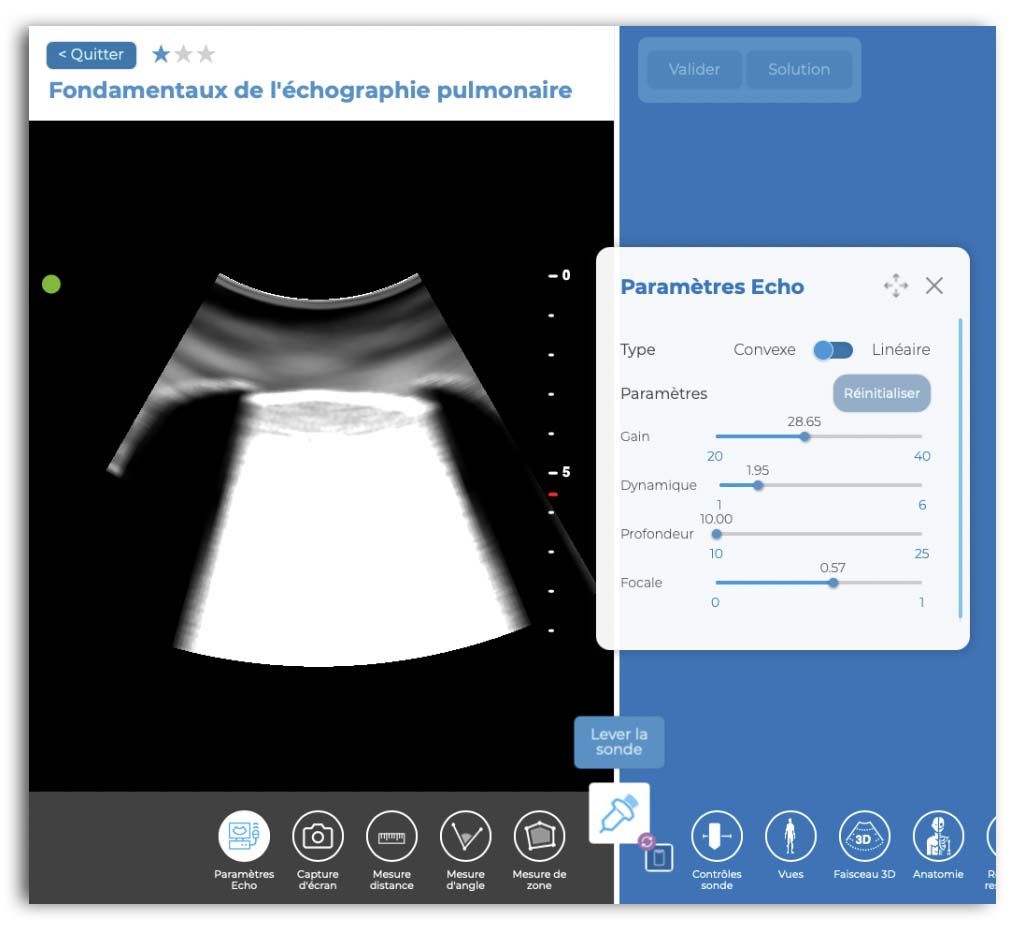
Low depth: No visibility of details, saturated image, no analysis possible
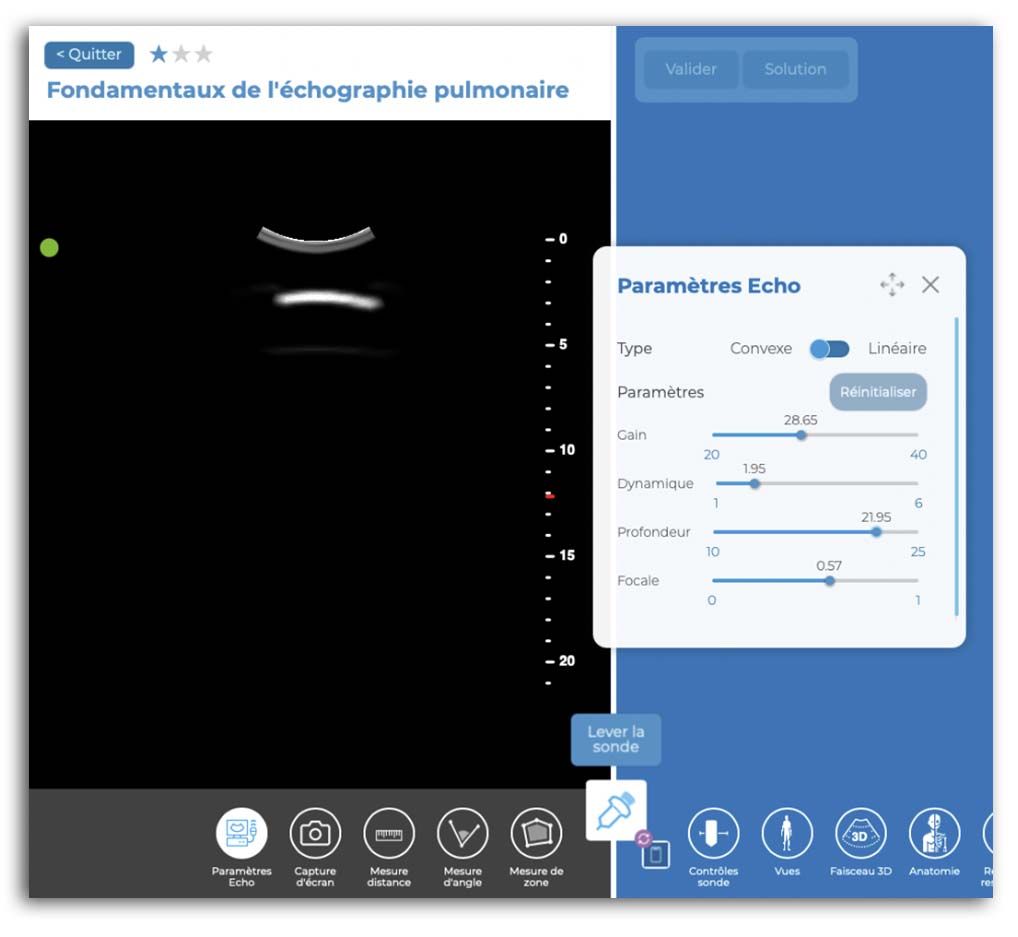
High depth: No details visible, no visible elements to analyze
Optimal depth (15cm): Desired rendering, visibility of pleural line and artifacts
? 2nd parameter at your disposal: The focal length
On the same principle as a camera, the ultrasound beam has a focal zone. In other words, this parameter allows you to choose the part of the image on which you wish to center your analysis in order to “magnify” the image definition of certain elements to obtain a complete vision and consequently a more precise analysis.
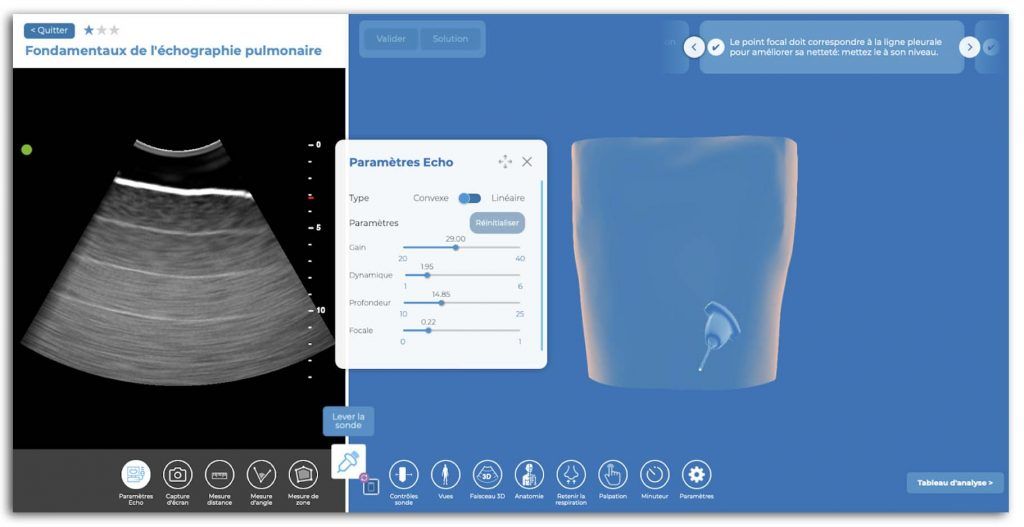
“Focal length adjustment” – Screenshot captured in the diSplay U/S lung ultrasound simulator by InSimo
If we come back to the notion of ultrasound image quality mentioned at the beginning of this article, we observe that in most cases, the image quality is optimal in the focal zone.
This parameter is essential because it allows you to improve the sharpness of your ultrasound image. In the context of a lung ultrasound related to COVID-19 diagnosis, the focal point must correspond to the pleural line, it will be enough to put it at its level to have the sharpest image possible and thus to detect the maximum of details in the near field. Indeed, most of the changes produced by COVID will affect the pleural line and its sliding.
?3rd parameter, and frequently the most used: the control of the gain or global brightness of the ultrasound image
The gain should allow you to compensate for the increased depth of the image. The gain parameter will therefore probably be the setting you use the most. It adjusts the overall brightness of the ultrasound image. You will need to use this control almost routinely in your ultrasound exams. Get into the habit of adjusting it, you will be surprised at how much of a difference a simple adjustment can make in the quality of your image.
By playing with this parameter, you amplify or decrease the receiving signal and the image becomes brighter. If the gain is increased too much, the image will be disrupted and noise, or grain, will appear. If the gain is too low, some observed tissue may no longer be visible. Don’t be afraid to play with the gain to get the result that suits you best.
Low gain: Limited visibility on the observed tissues and elements
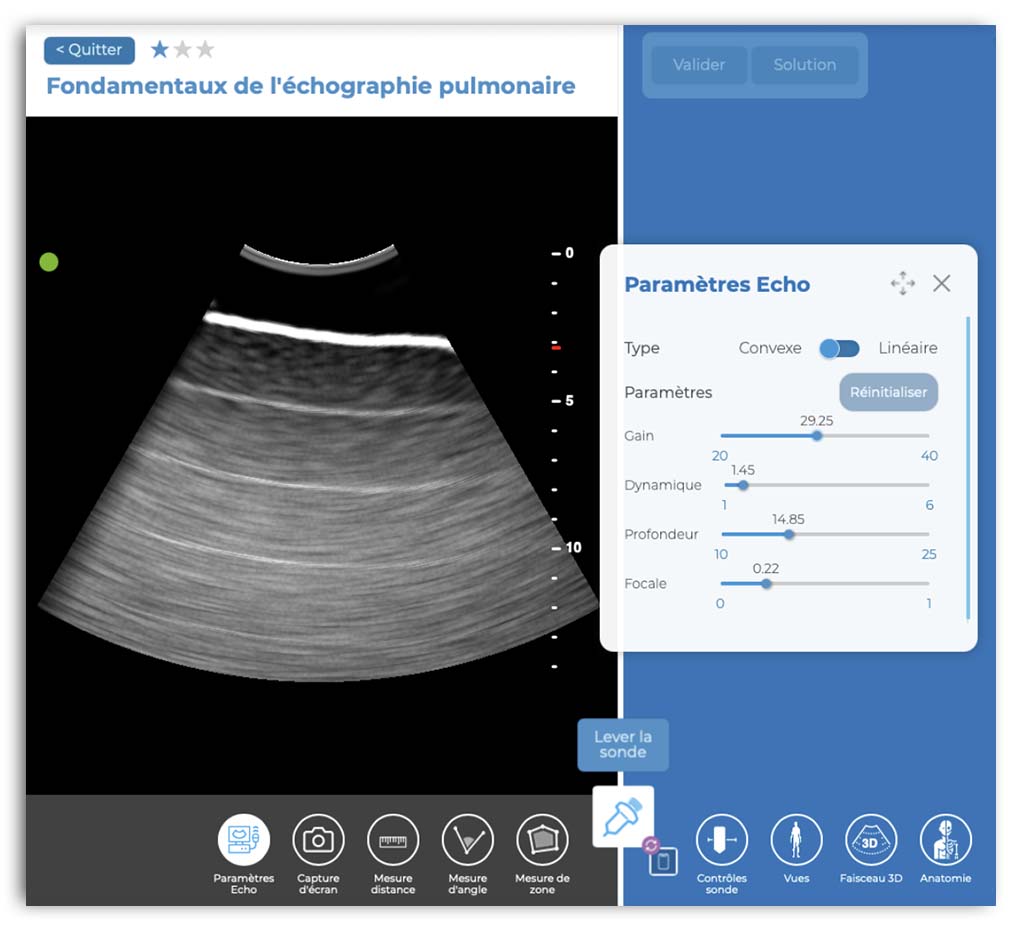
Medium gain: Optimal visibility of details and observed elements
High gain: Ultrasound image saturated with noise
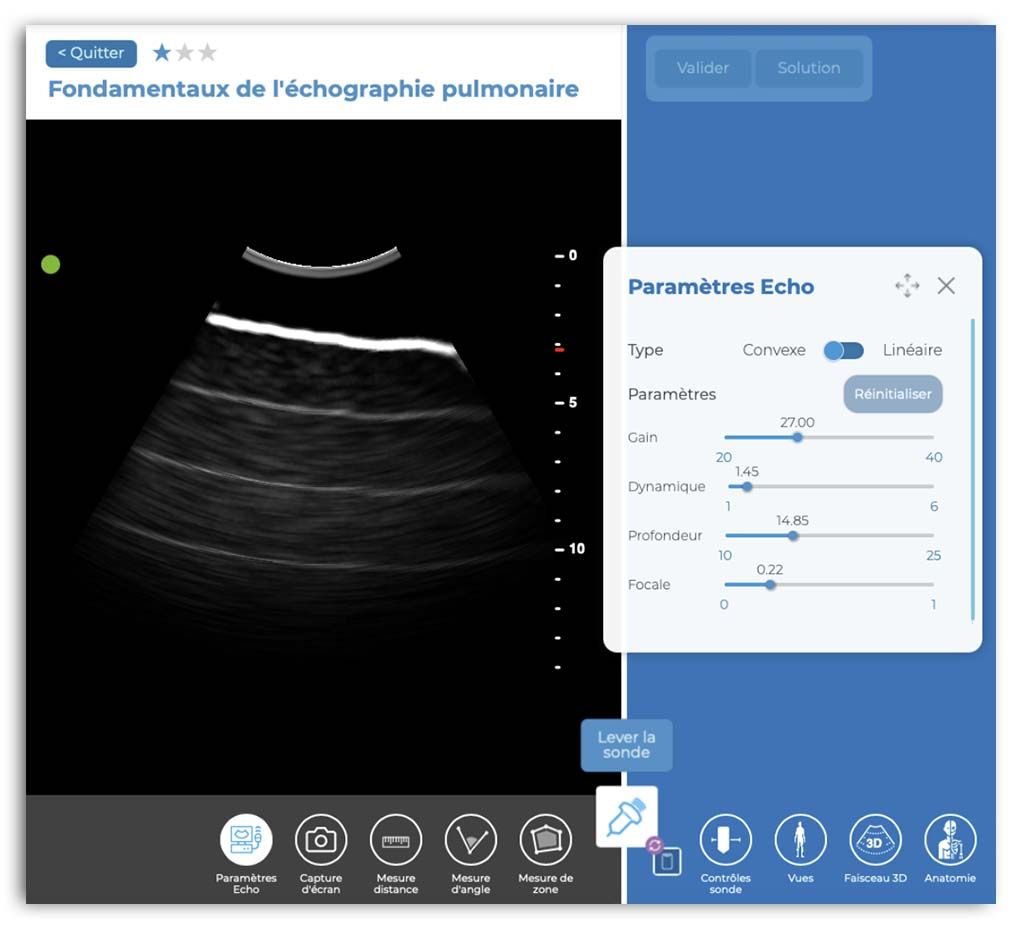
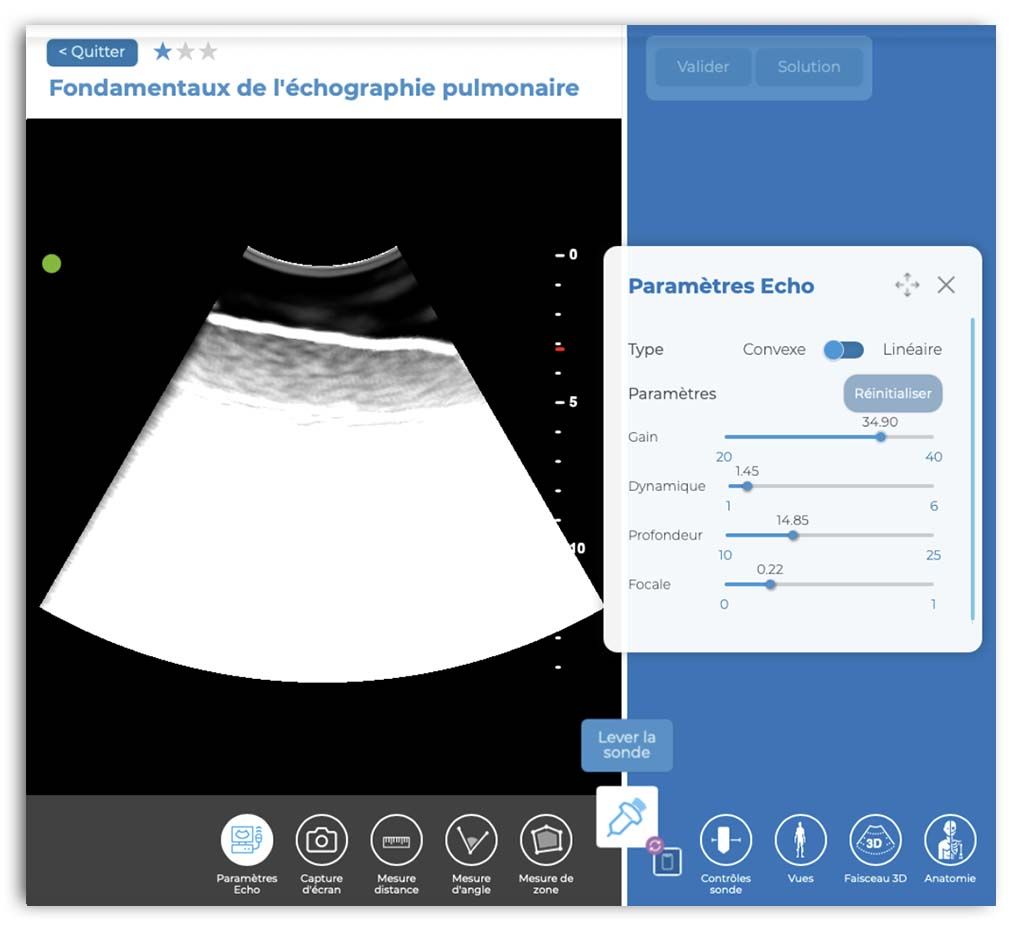
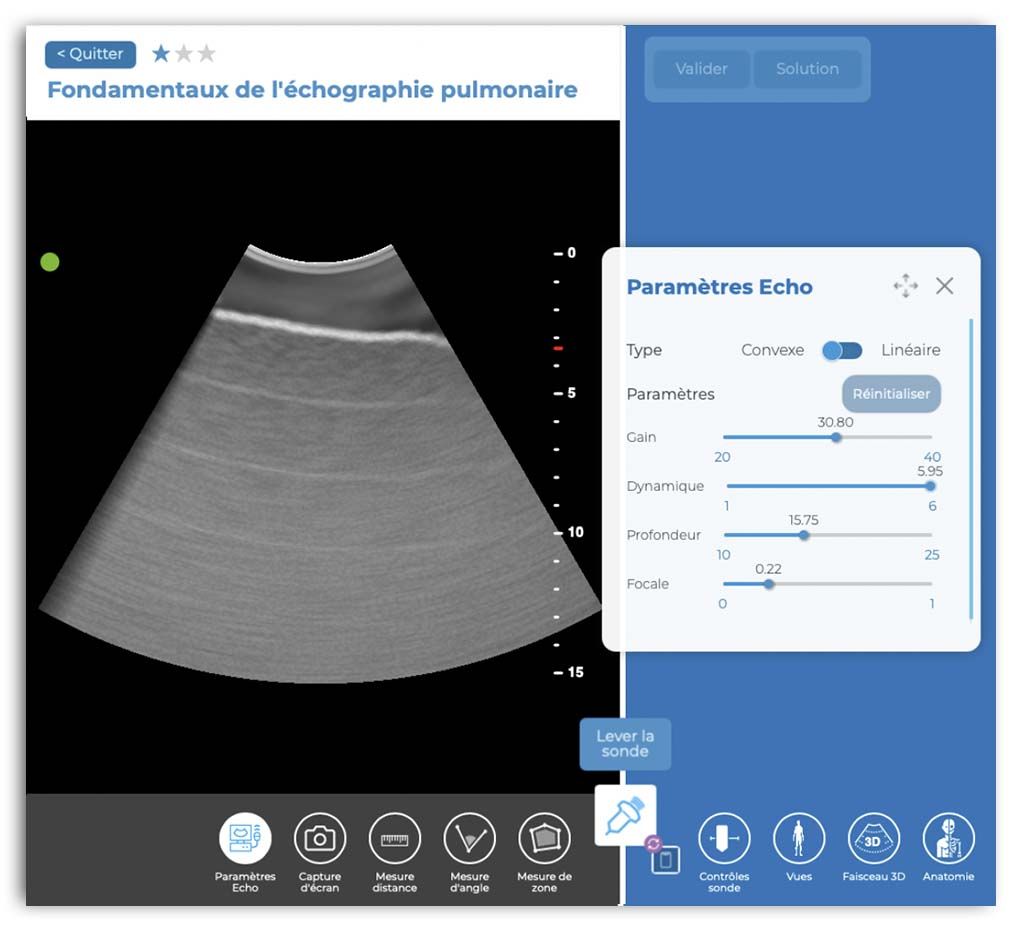
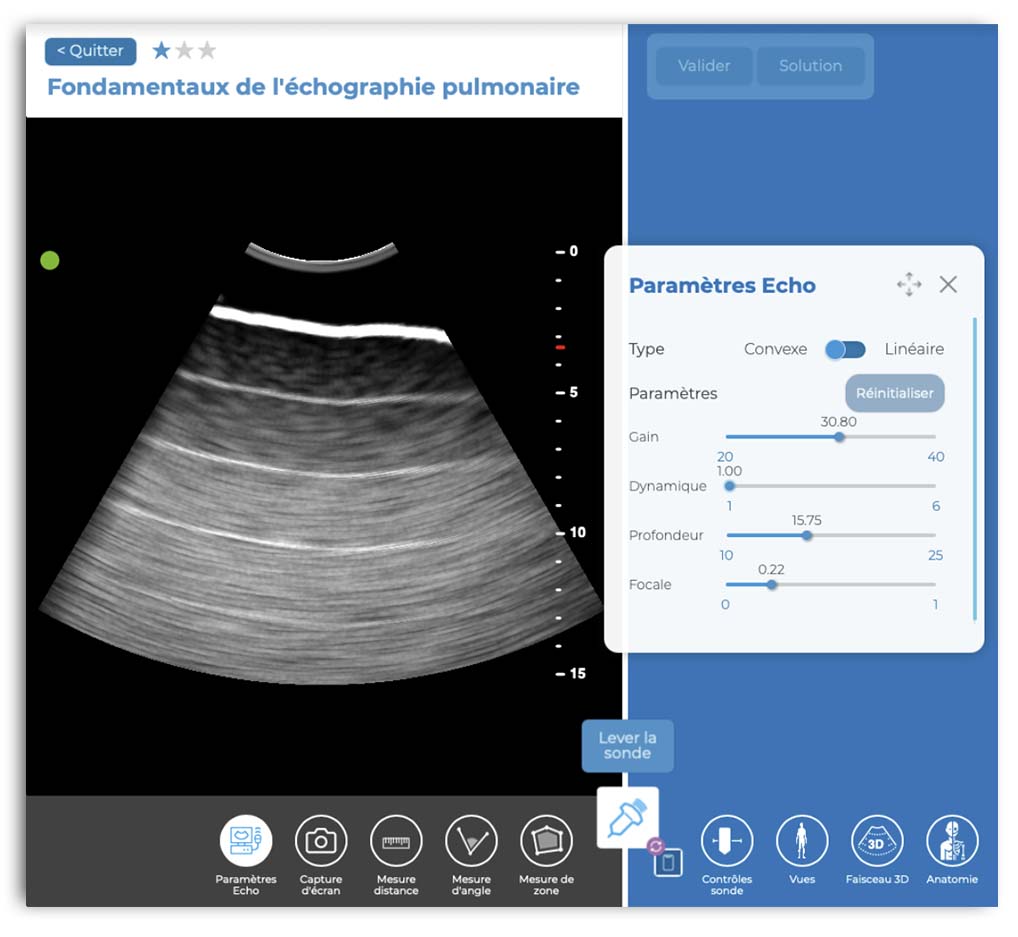
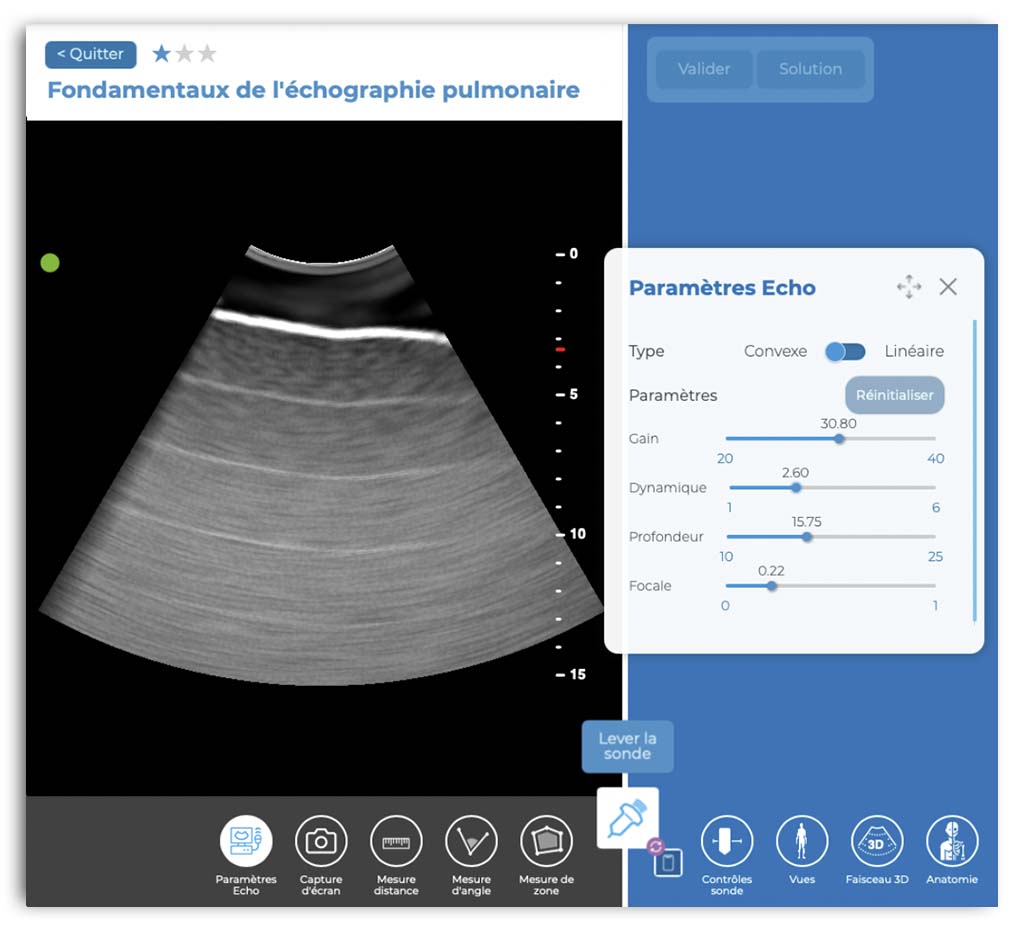
?Last parameter: the dynamic range
This last possible setting is an automatically adjusted parameter on many ultrasound devices. More concretely, the dynamic range is the interval between the minimum intensity of the weak signal and the maximum intensity of the strong signal displayed. In practice, the greater the dynamic range, the greater the contrast resolution. It is generally advisable to set the dynamic range to the maximum. However, in the presence of a large amount of low-level noise, reducing the dynamic range can improve the image, which is the case in our simulation.
This setting will again allow you to fine-tune your ultrasound image by telling the ultrasound machine how you want the ultrasound intensity to be displayed in shades of gray. A large/extended range will display more shades of gray and a smoother overall image. A smaller/narrow range will display fewer shades of gray and appear as a higher contrast with a more black and white image.
High dynamic range: High “gray” tones, low shading
Medium dynamic range: Improvement of the contrast between the different elements
Low dynamic range: High contrast with good structure representation
? In conclusion
As you can see, there are several levers to adjust the parameters of your convex probe in order to have a successful lung ultrasound. Used alone, none of these settings will be of much use to you, however their right combination allows you to obtain efficient results in your quest for the perfect ultrasound image. How about jumping into the practice now?
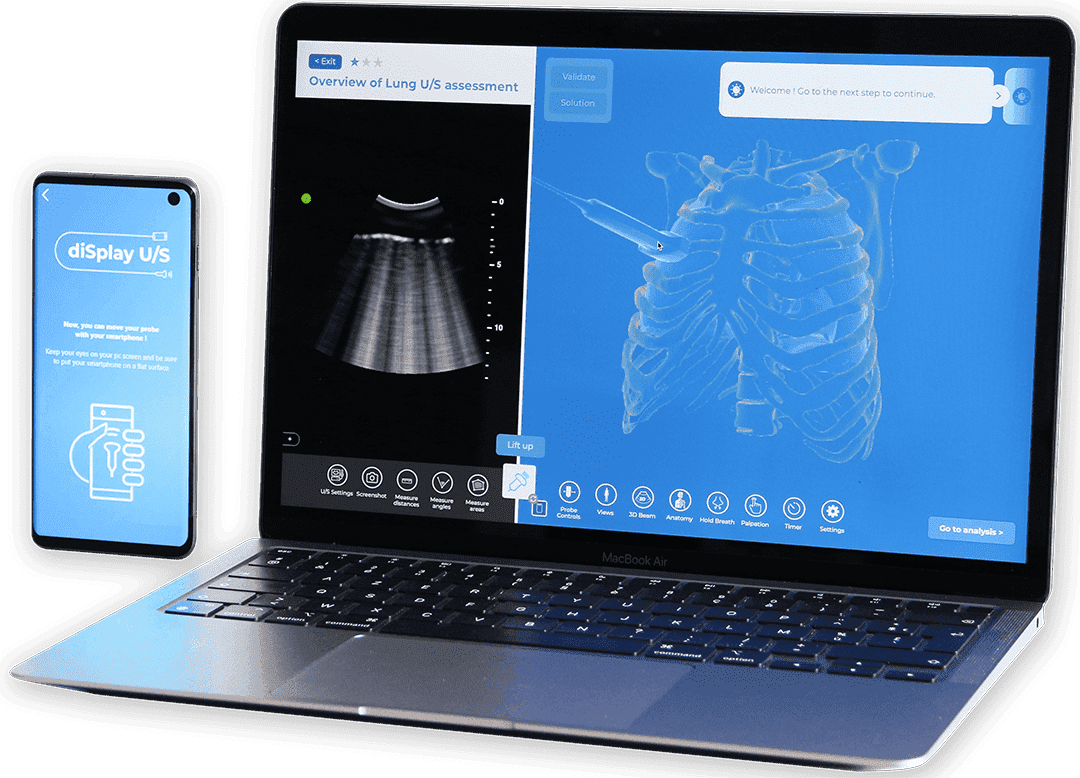
Download diSplay U/S probe and learn the manipulation of a ultrasound probe thanks to your smartphone


? JOIN THE COMMUNITY ?